Introduction
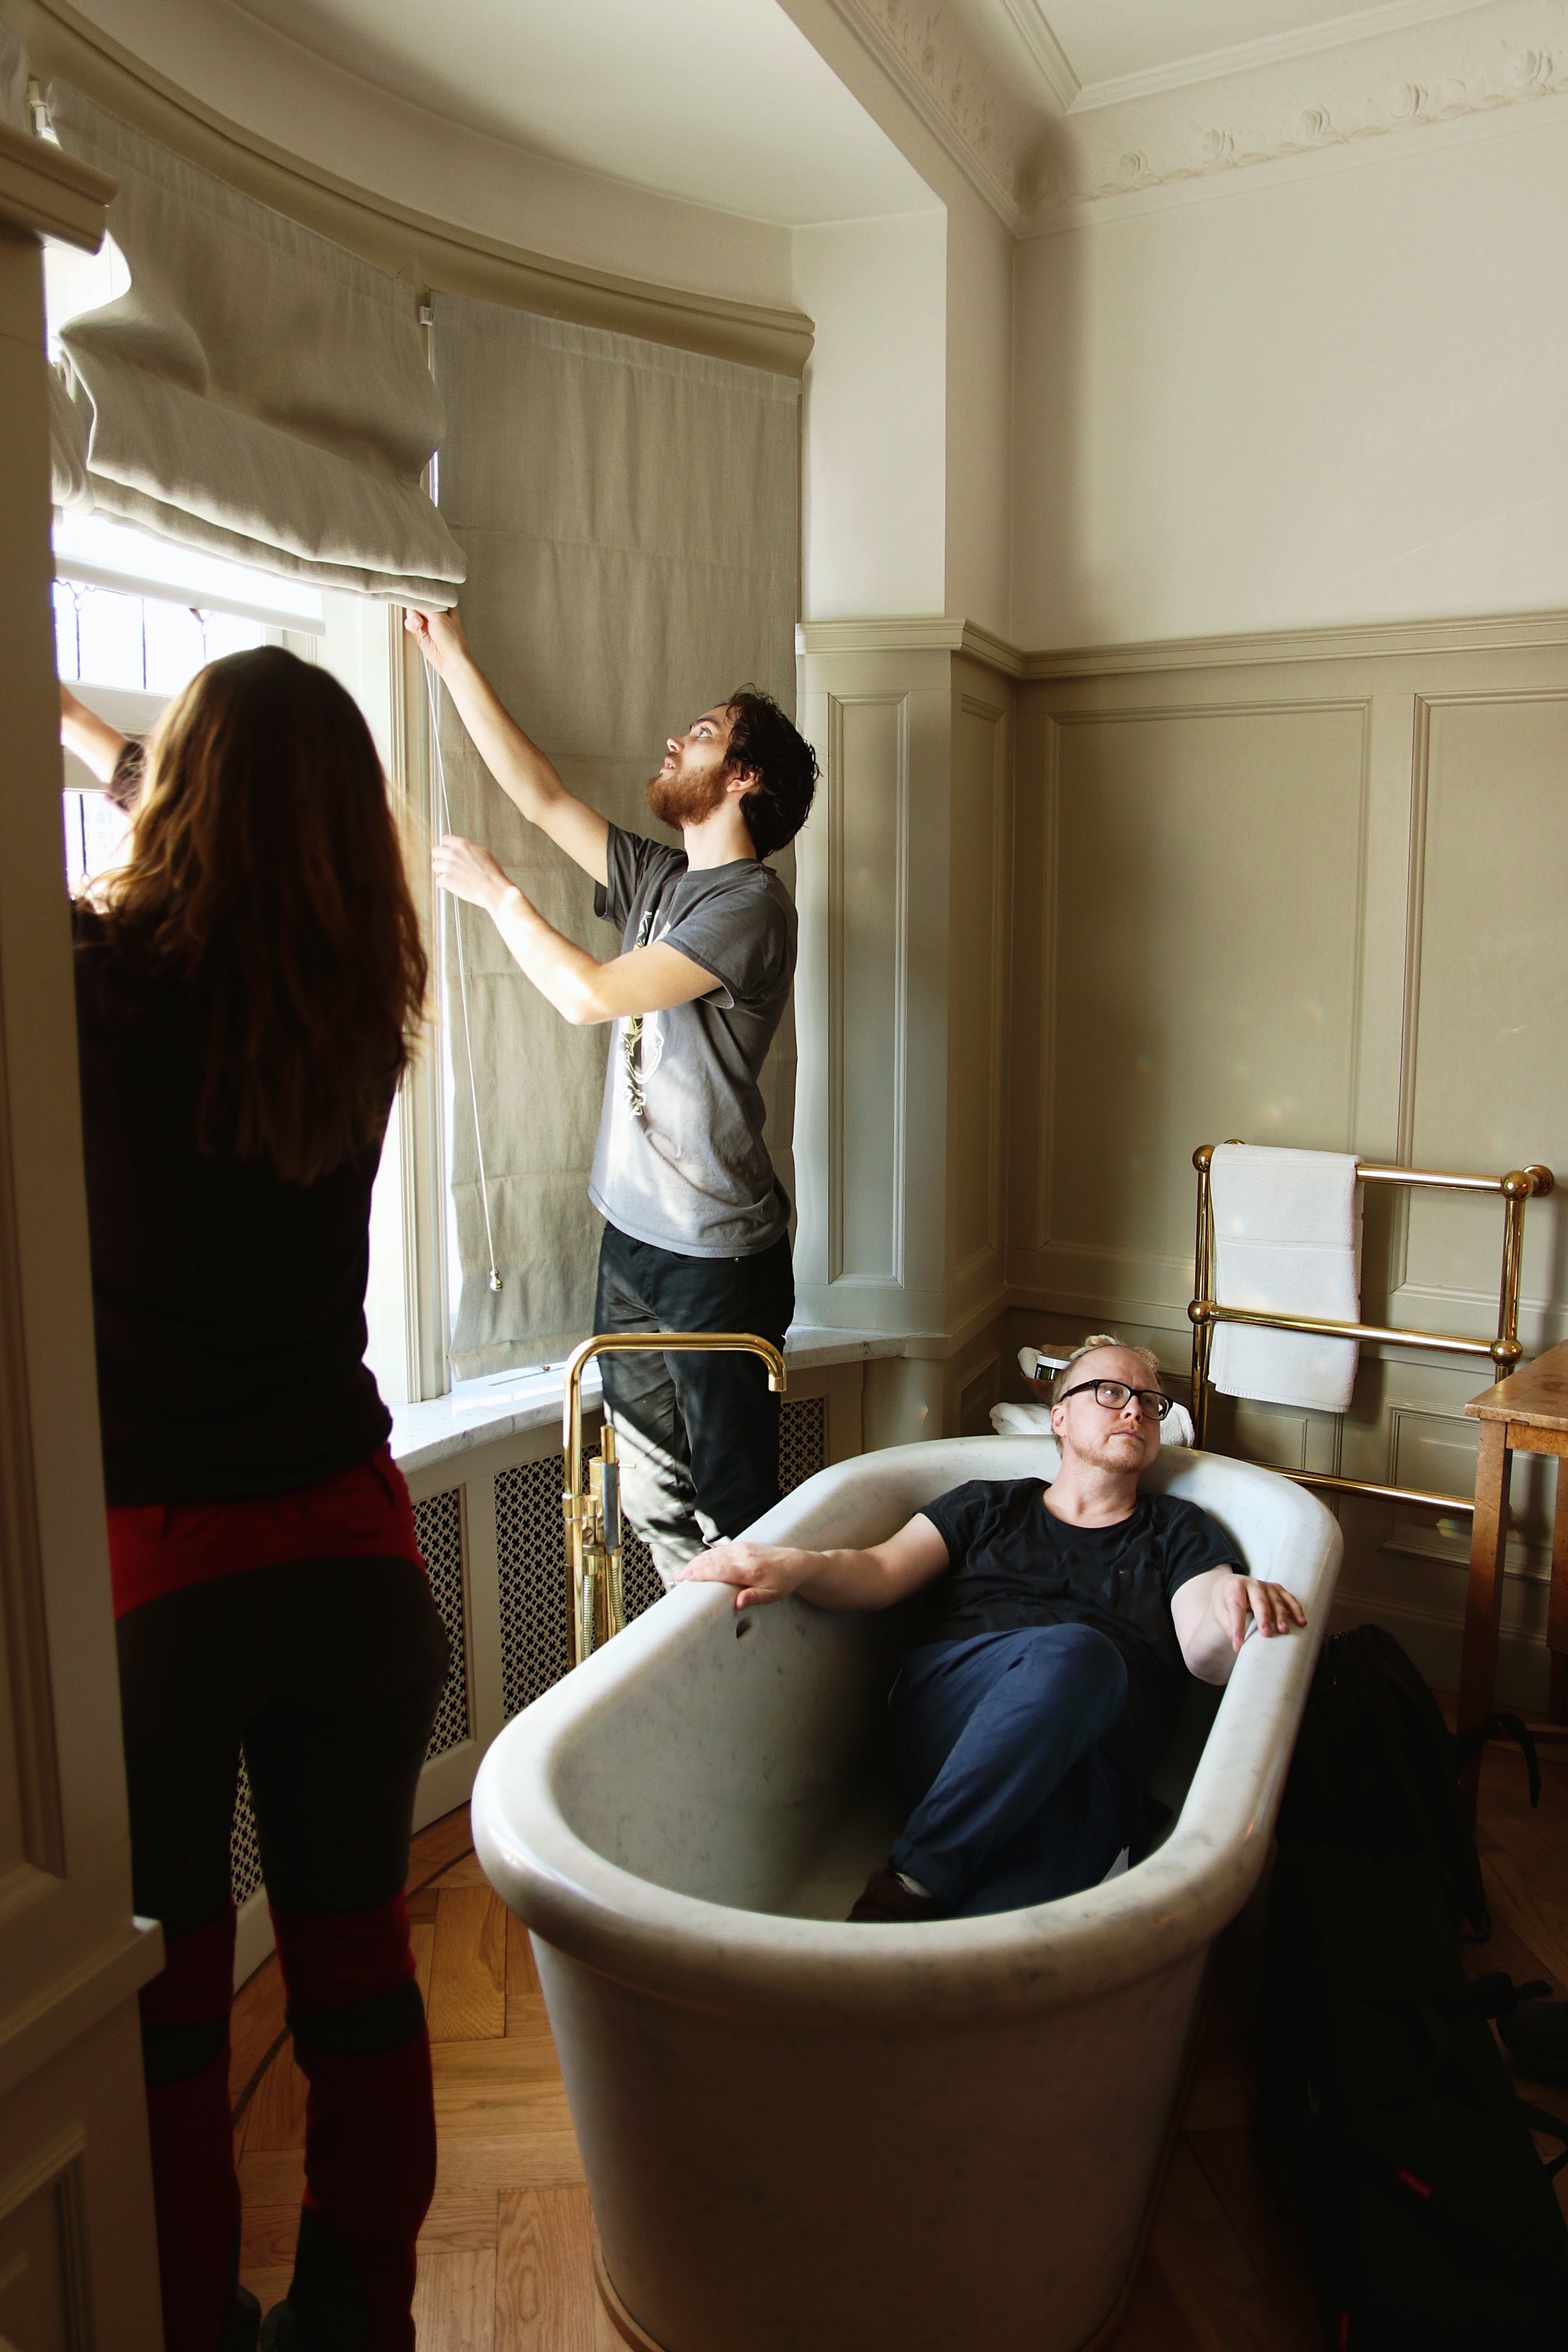
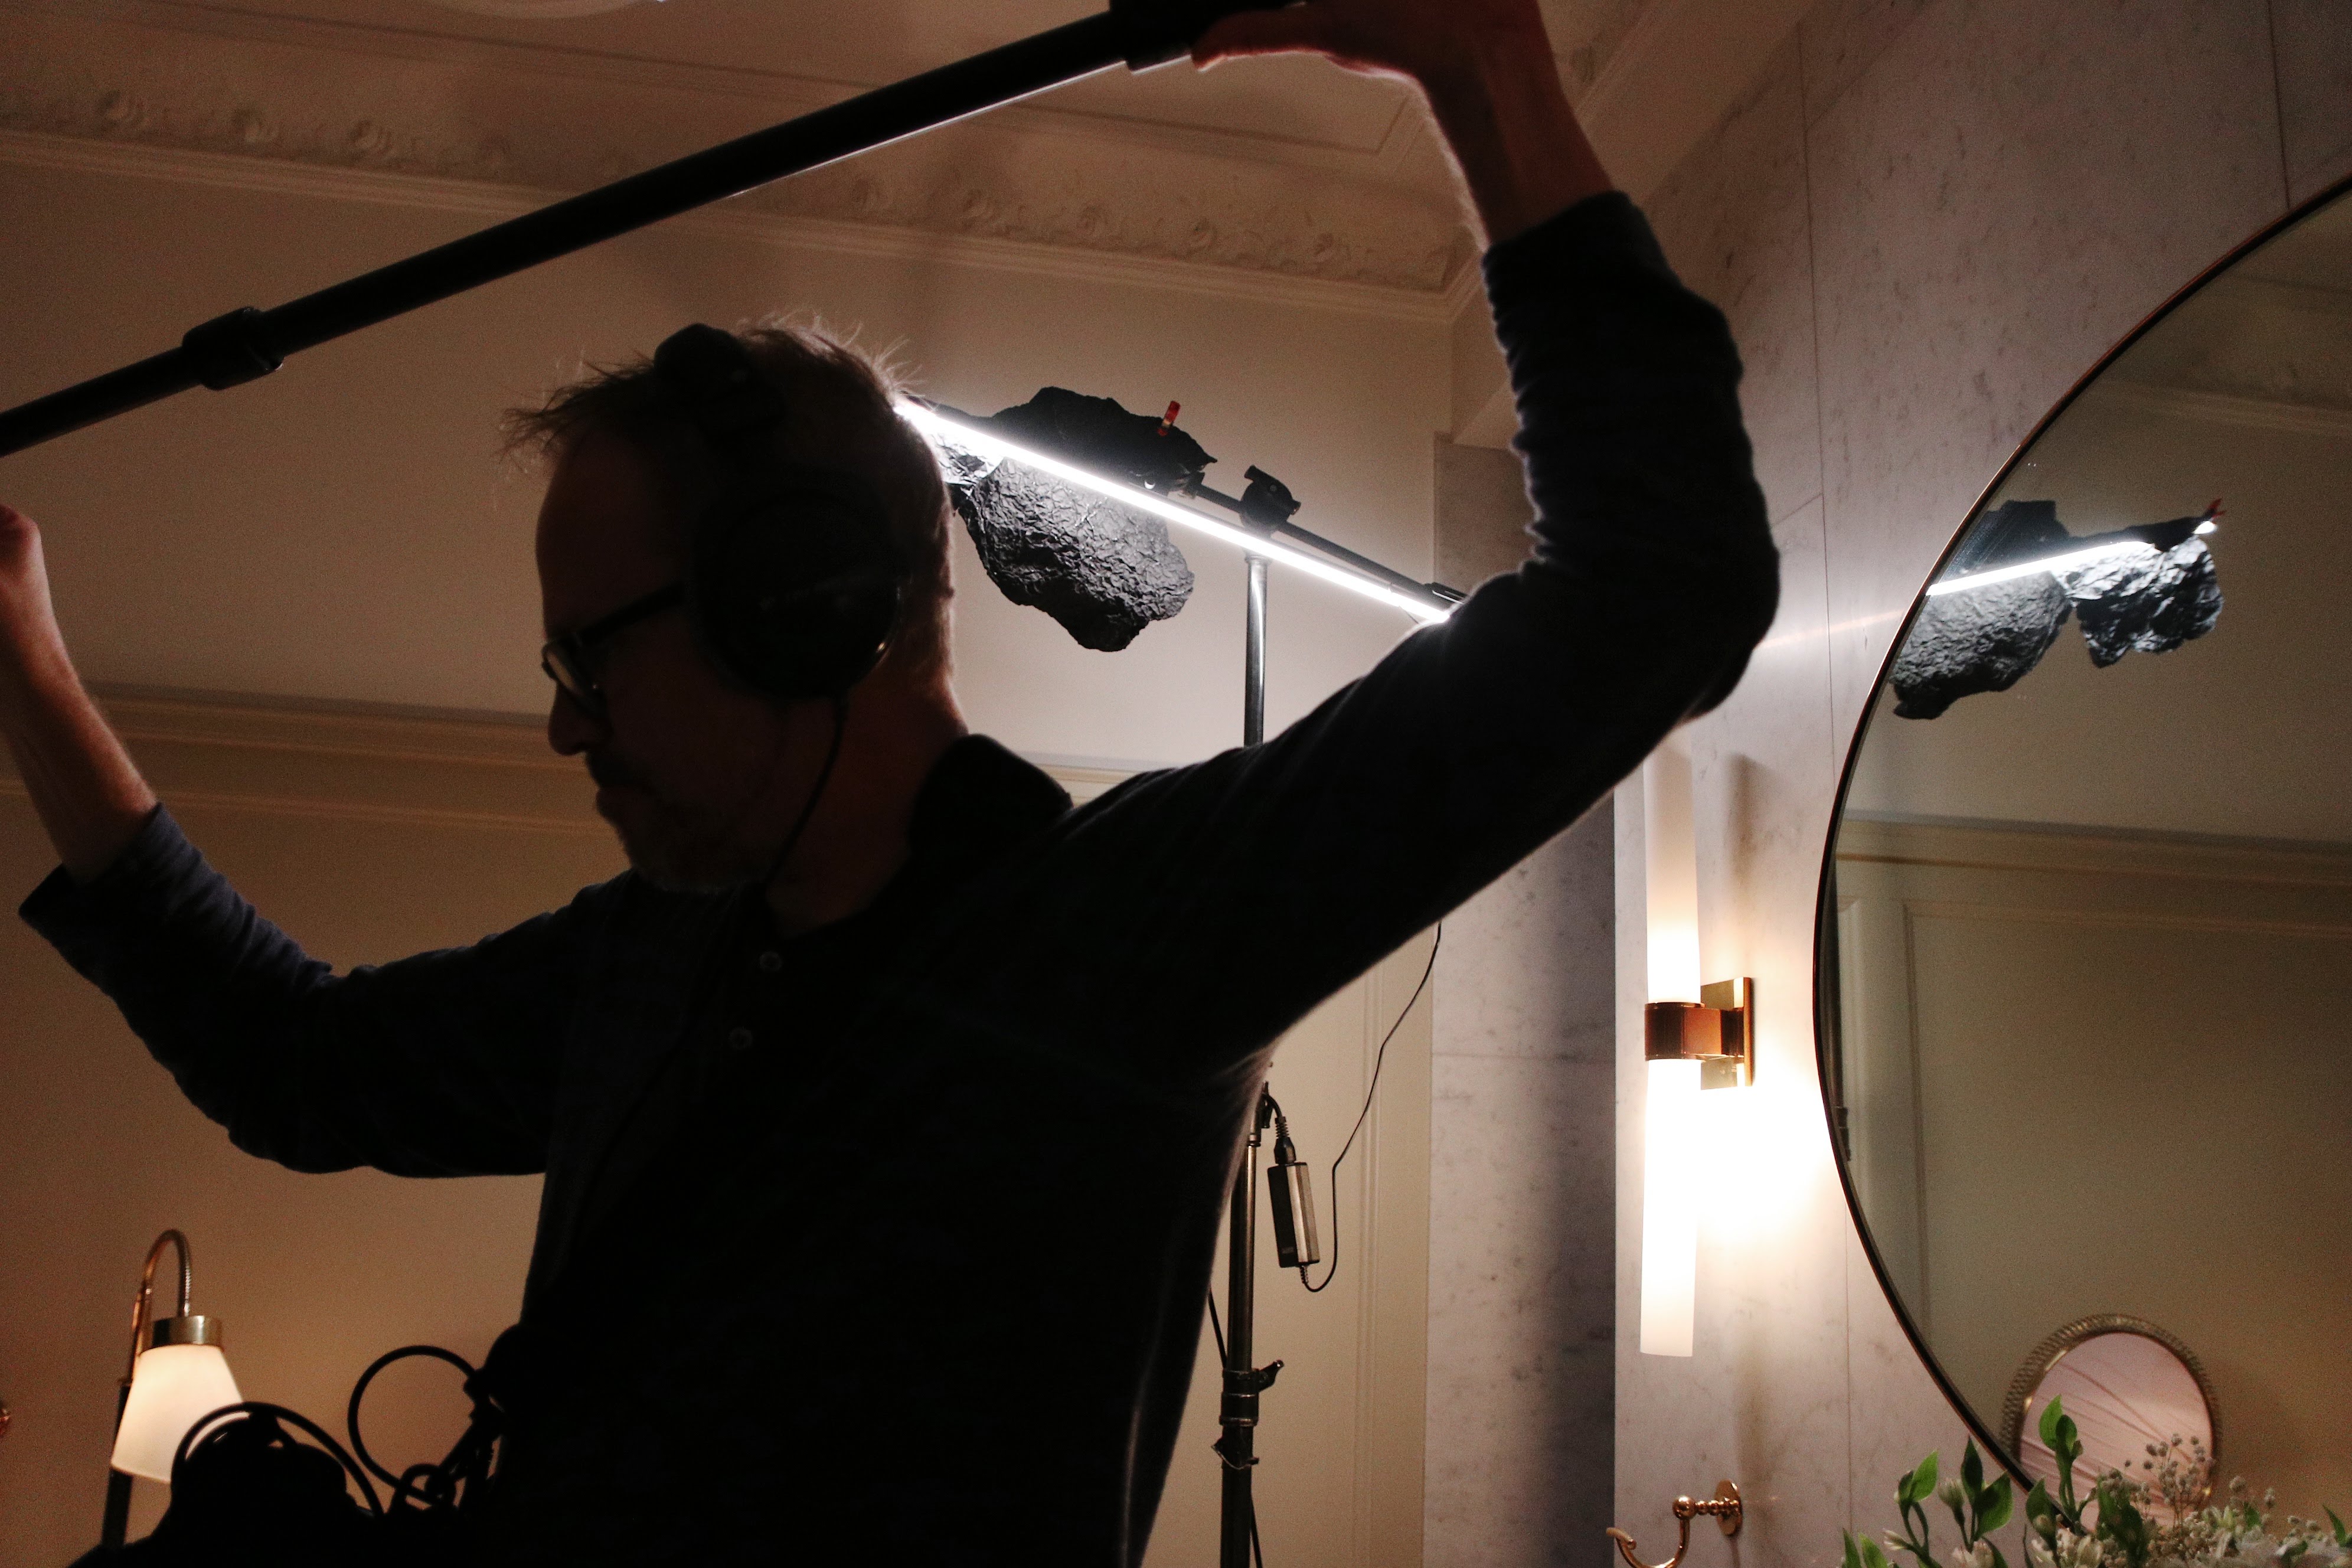
I shot a short about identity directed by Victor Von Schirach. We only had access to the location for one night, so the focus was on quick quality, all in all the location was two rooms in a hotel suite and it all takes place at night. For help I had gaffer Joel Sundqvist lending a hand in the lighting.
I’m going to break down two shots here and show how I lit them and where I placed the camera. The focus will mostly be on the lighting. This scene was mostly covered in a shot-reverse shot fashion with some inserts that I didn’t do any major relighting for, so by the end of this post you should be able to copy the work I did without issues.
The Gear
As we were in two smaller rooms and on a tight schedule, I decided that we would use mainly BB&S Pipelines because they are fast, easy to work with and even easier to hide.
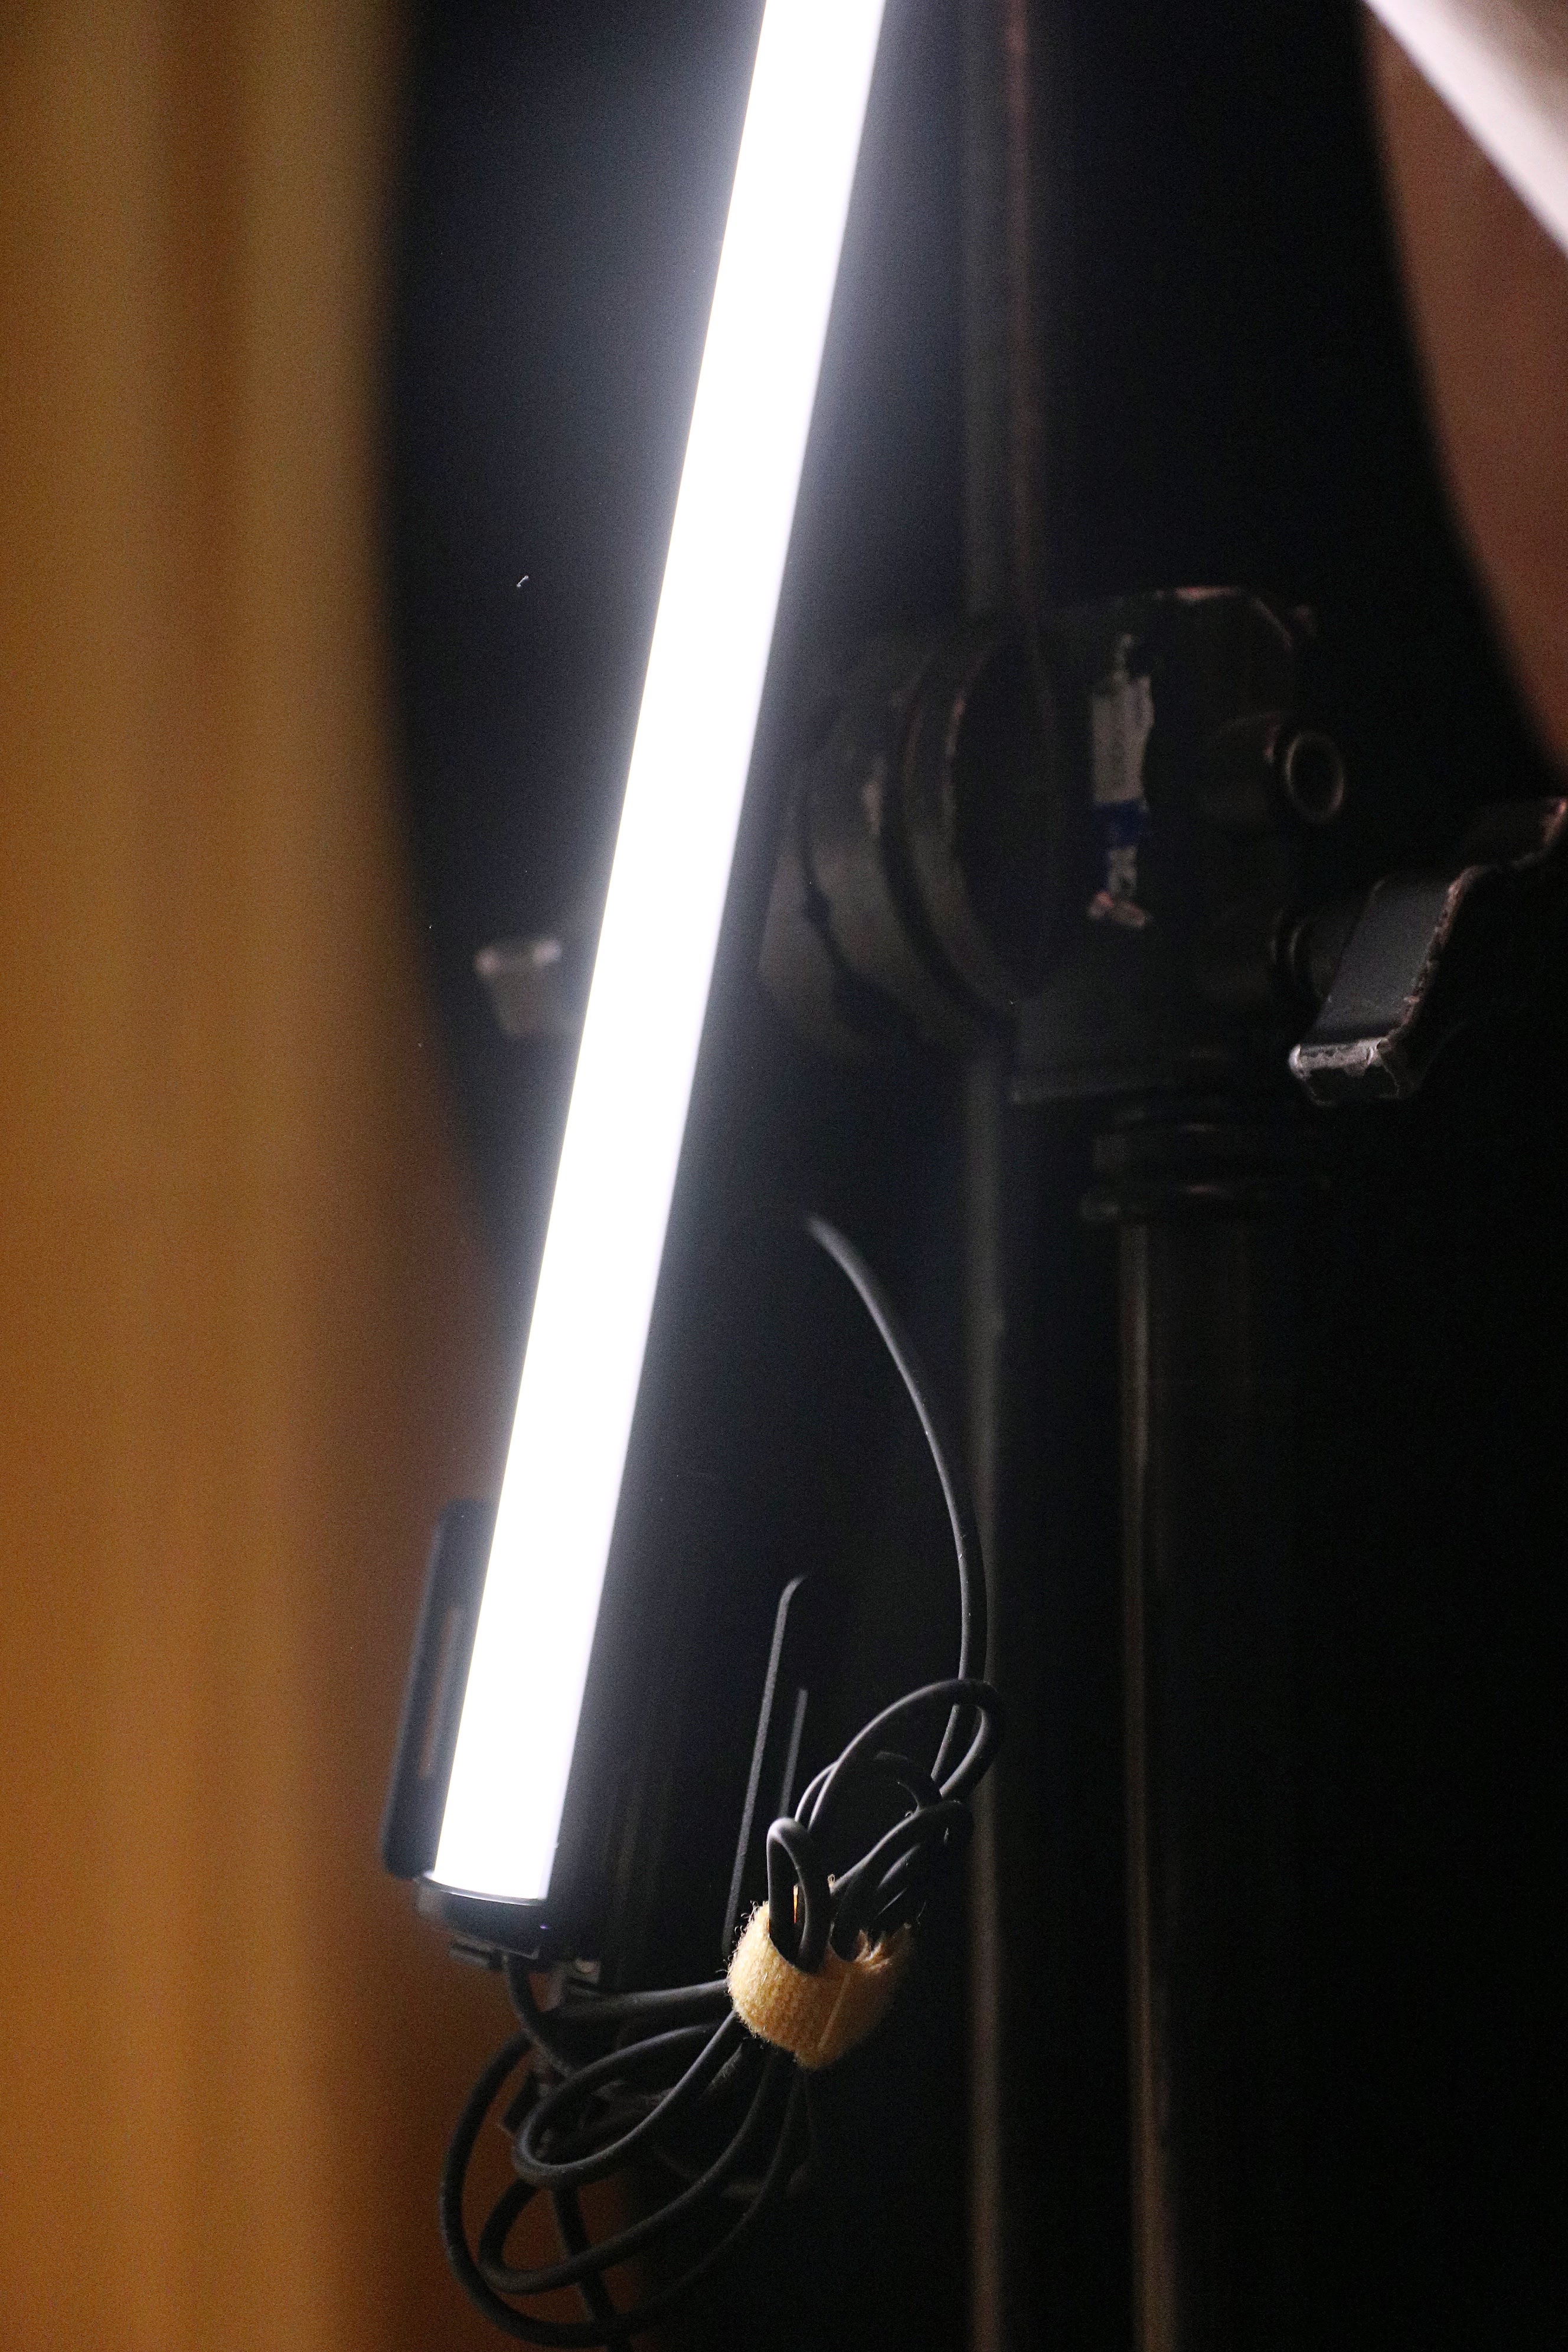
BB&S Pipeline
The first thing we did, since we were going the night time look, was to block out the sunlight from the windows. So we covered them with some black cloth and flags.
Gear list:
Lighting
- 2 Area 48 + snapbag and grid
- 4 4-Foot Pipeline Raw
- Flags and black cloth
- Practicals!
Camera
- Red Epic-W 8K
- Zeiss CP.2 lenses
- Tiffen ND-filters
Thank you Chirano for loaning us lenses and camera!
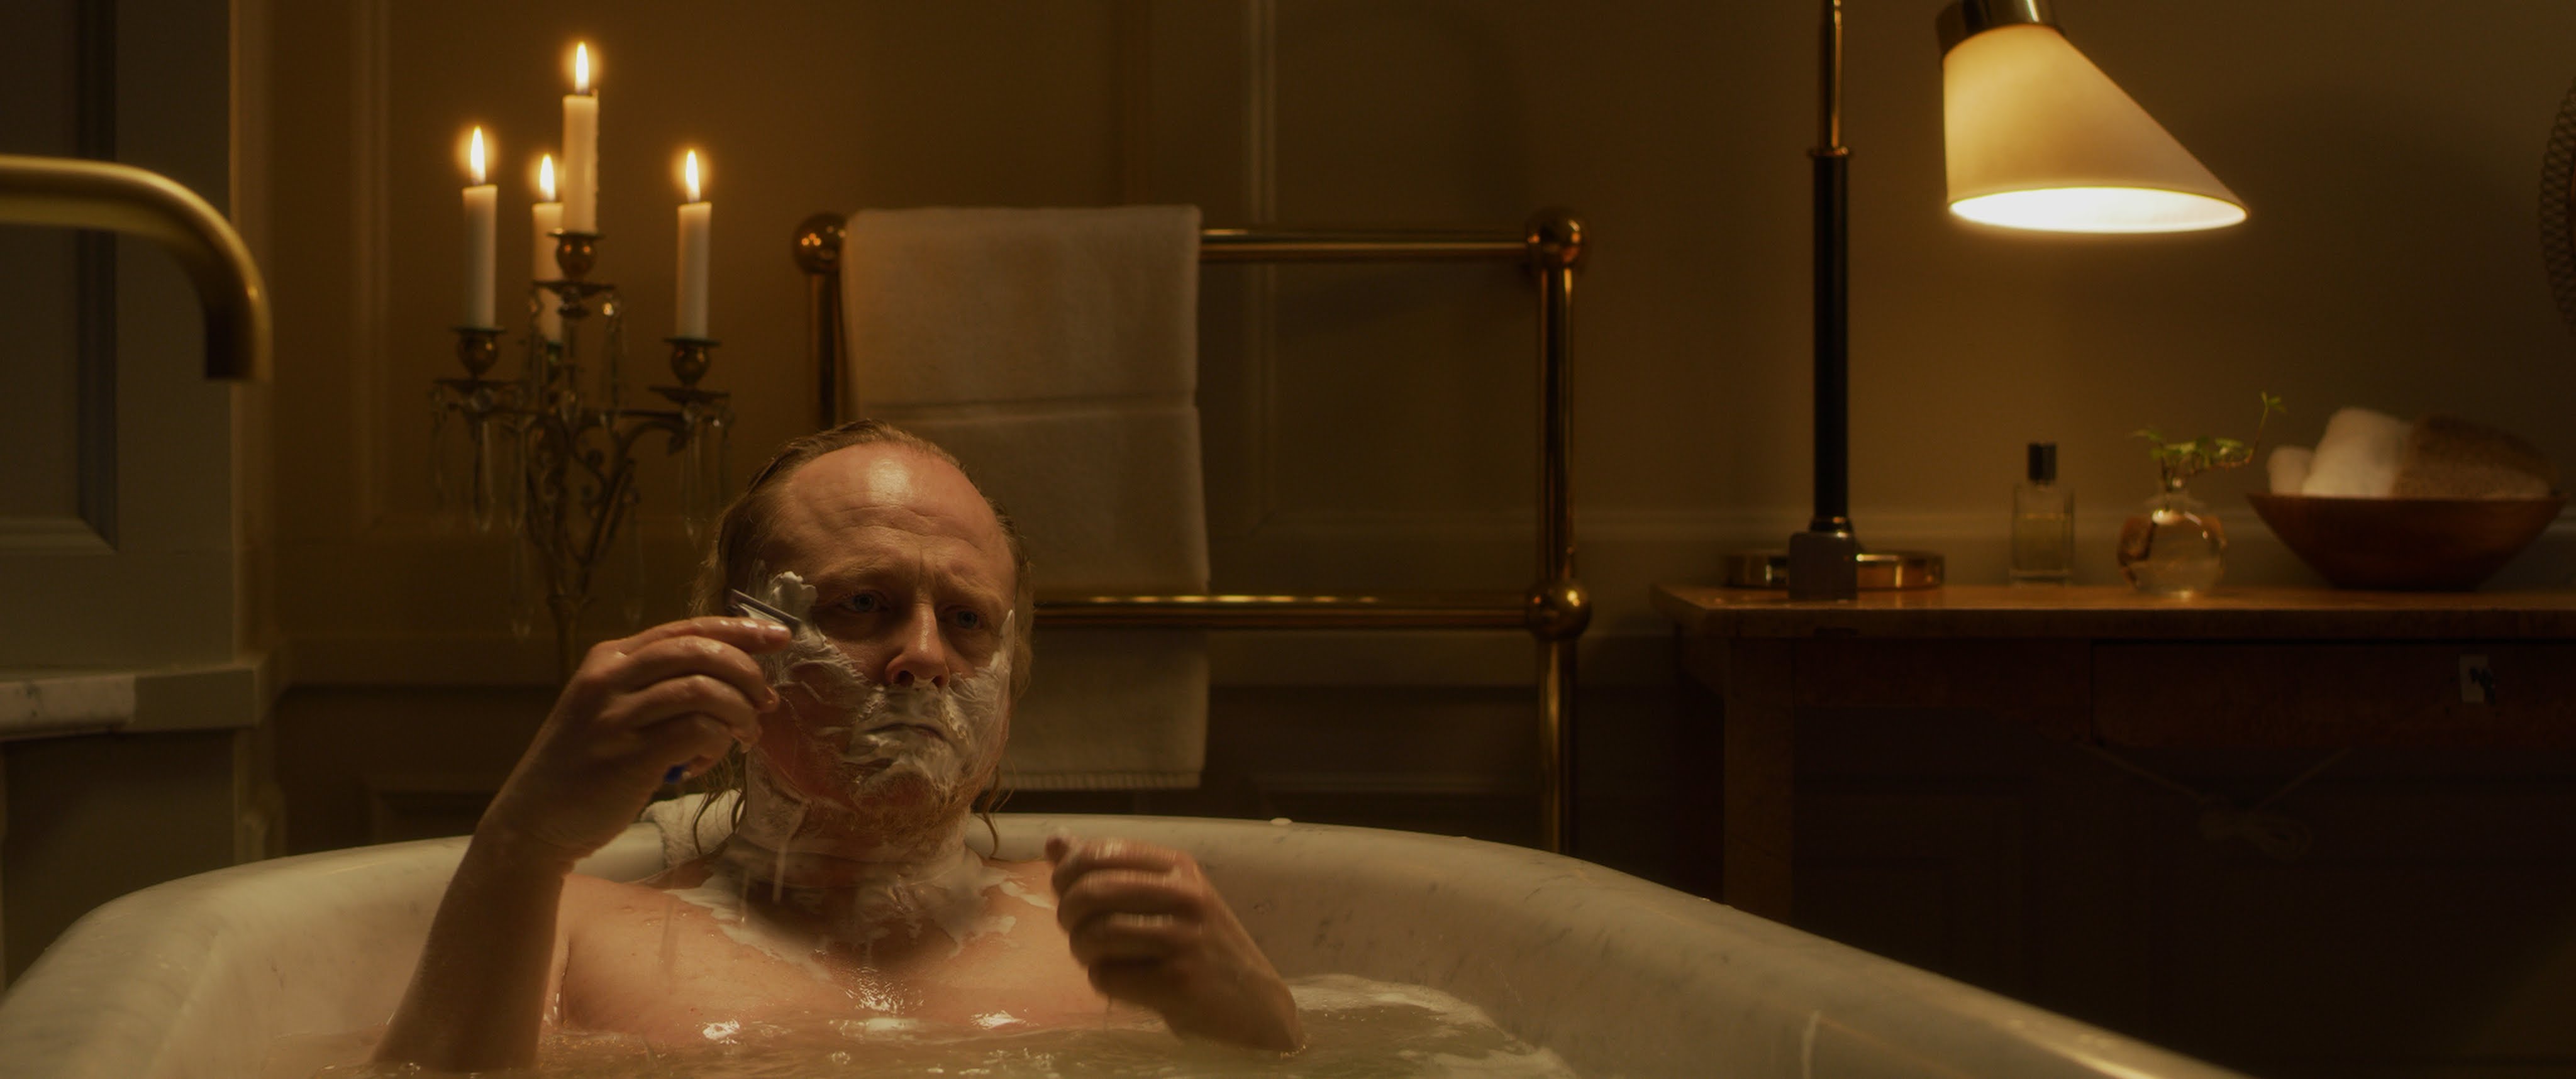
Shot 1 - Bathtub
Our first shot was of the main character sitting in a bathtub.
My focus in this shot was keeping the general ambiance in the room low and to focus the eye towards our main character. To do this, I used an Area 48 with grid on it as the key light, positioned from directly above. This gave a nice top light on the talent while keeping light spilling on the wall behind him to a minimum. I white balanced the camera somewhere around 5000k and all lights were around 3200k, to give this nice warm look. The practical that is in frame was also changed to a low output bulb.
We added some side light to ease up the shadows on his face and to make it seem like the light is coming from the practical on the right. It was a simple 4Ft Pipeline that we flagged off from the wall and dimmed down a bit.
As you can see in this photo, the walls are actually quite bright, so reducing the luminance of the walls really adds to giving it a dark ambiance and really pulling our talent out from the background giving the shot some much needed depth.
Here’s a shot designer diagram showing how it was lit. The green coloured lights are used in this setup. The red colour show what lights were used on the reverse shot.
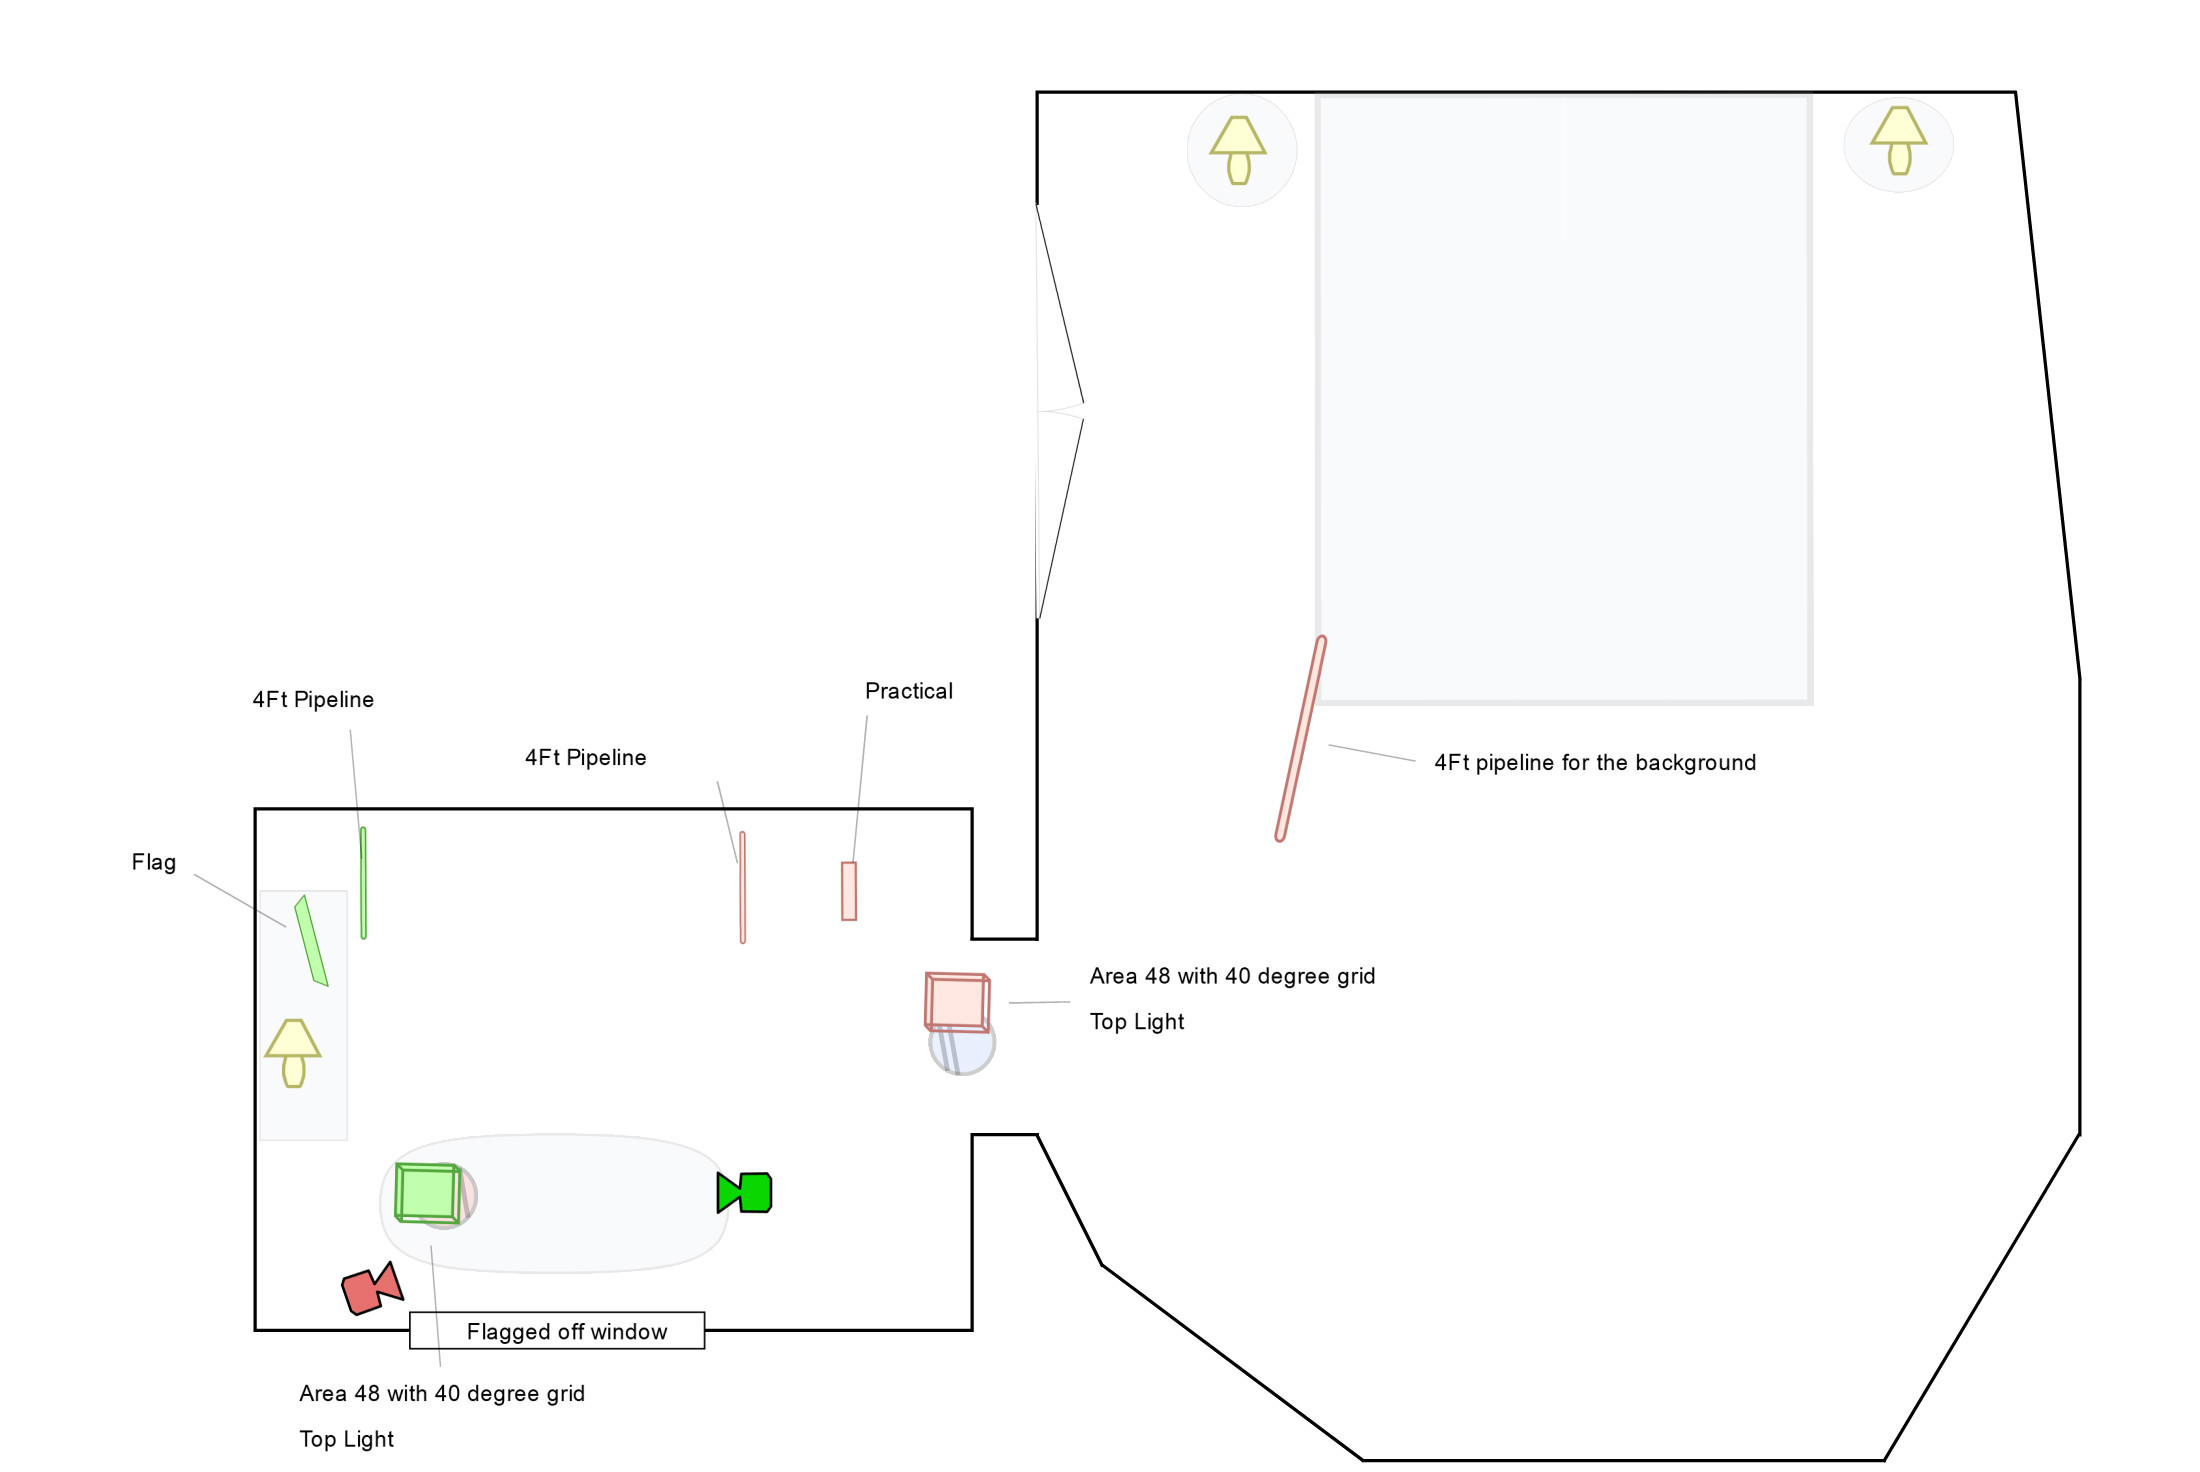
The green colour shows the lights used in this shot
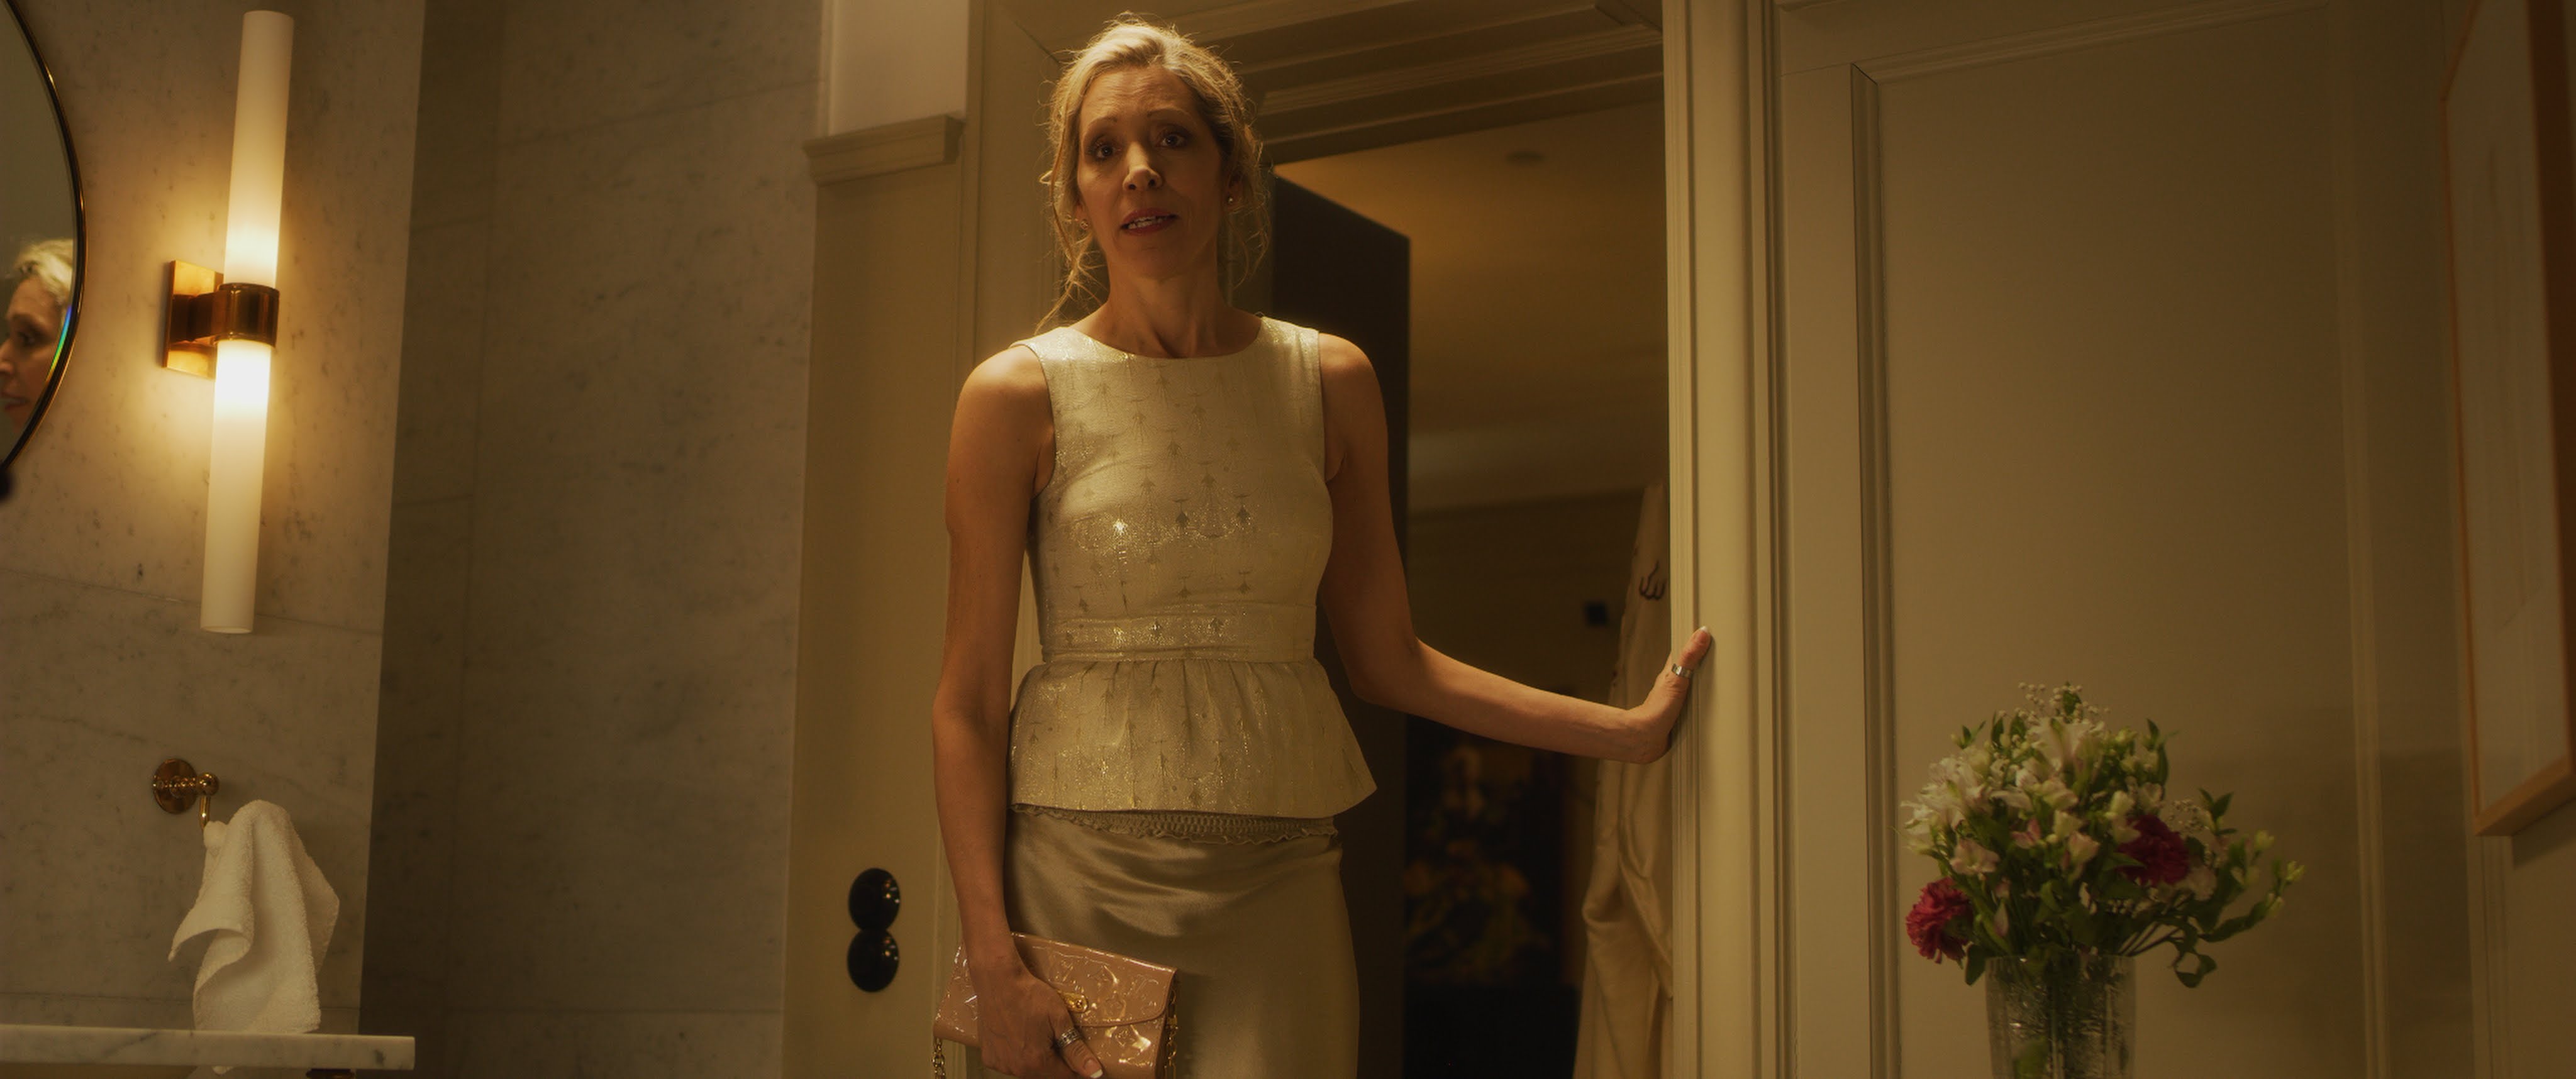
Shot 2 - Reverse shot
The reverse shot, the other character of the film walks in and out of the room while talking to the main character.
She was preparing to go to a banquet of some sort or an upscale party, so I wanted to make her kind of radiate when she came in to the room. Putting an Area 48 above her just outside of frame with a snapbag and 1/2 grid cloth on gave her a great glow that really makes her shine.
We also added a pipeline in the room behind her to bring in some ambiance for the room and turned on the ceiling lamp as it is in frame. I might have added 1/4 CTO to the pipeline, I don’t remember but it does look a bit warmer than 3200k.
Not a very complex setup, but I think it works well and when you’re doing the whole film in one evening you can’t spend too long on each shot.
The red colour shows the lights used
Wrapping up
That’s a quick look at how to do a simple setup in a cramped room. I hope you’ve learned something. If you have any questions feel free leave a comment and I’ll answer as soon as I can!
A big thanks to Victor for trusting me with his project, and to the rest of the crew and cast for a fun shoot.
Max